


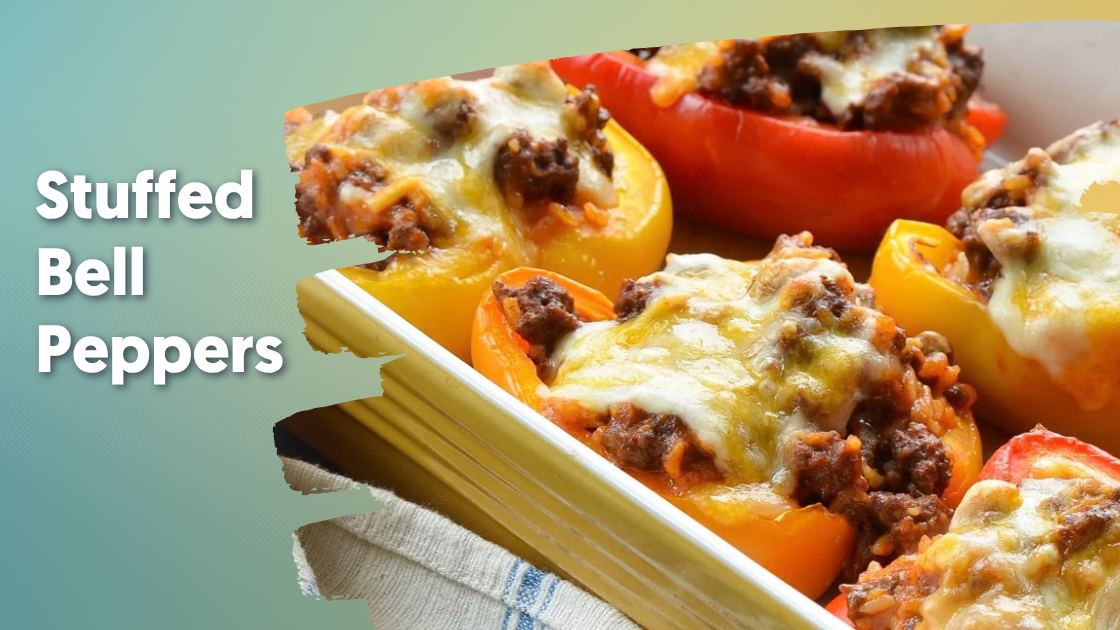

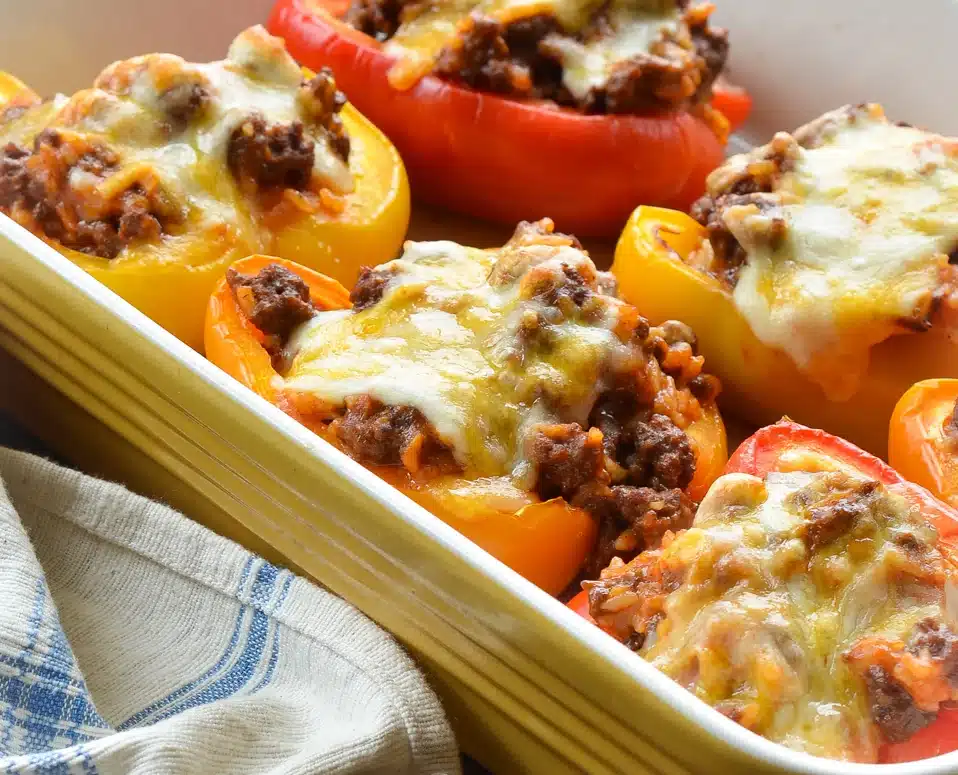
These stuffed bell peppers provide a hearty, comforting dinner without any fuss. Sweet bell peppers are roasted until tender, then filled with a savory mixture of seasoned ground beef, rice, tomato sauce, and plenty of melty cheese.
They’re colorful, filling, and surprisingly easy to make. And since you can use rice, quinoa, or just about any cooked grain you have on hand, they’re a great way to use up what’s already in the fridge or pantry.
Ingredients
- 1 pound 90% lean ground beef
- 1¼ teaspoons salt, divided
- ¼ teaspoon baking soda
- 3 large red, yellow, or orange bell peppers, halved from stem to bottom and cored
- 3 tablespoons extra-virgin olive oil
- 1 medium yellow onion, finely chopped
- 3 cloves garlic, minced
- 1½ teaspoons chili powder
- ½ teaspoon ground cumin
- ¼ teaspoon dried oregano
- 1 (8 ounce) can tomato sauce
- 1 cup cooked rice, quinoa, or your favorite grain
- 1½ cups shredded Monterey Jack or Cheddar Jack cheese
Directions
Step 1: Get the Oven and Beef Ready
First, preheat your oven to 425°F and place a rack in the middle position. While the oven heats up, let’s give the beef a little time to tenderize. Add the ground beef to a medium bowl along with 1 teaspoon of salt and the baking soda. Gently mix everything together with your hands, then let the beef sit for about 20 minutes while you prepare the peppers and filling.
Step 2: Prep and Roast the Peppers
Meanwhile, line a 9×13 inch baking dish with aluminum foil (for easier cleanup.) Arrange the pepper halves in the dish with the cut sides facing up. Drizzle them with 1 tablespoon of olive oil, then sprinkle with the remaining ¼ teaspoon of salt. Next, roast the peppers for about 20 minutes, until they’re slightly browned and tender but still have a little bite to them. If you notice some liquid collecting inside the peppers, don’t worry, that’s completely normal.
Step 3: Cook the Onion and Garlic
While the peppers are roasting, start working on the filling. Heat the remaining 2 tablespoons of olive oil in a large nonstick skillet over medium heat. Add the chopped onion and cook for 3-4 minutes, stirring often, until it’s soft and translucent. Then, add the garlic and cook for another minute. You want it fragrant and flavorful, but keep an eye on it so it doesn’t start to brown.
Step 4: Brown the Beef
Once the onion and garlic are ready, add the seasoned ground beef to the skillet along with the chili powder, cumin, and oregano. Turn the heat up to medium-high and cook the beef, breaking it apart with a wooden spoon as it browns. Continue cooking for about 4-5 minutes, until the beef is browned and almost completely cooked through.
Step 5: Add the Tomato Sauce and Rice
Next, pour in the tomato sauce and bring the mixture to a boil. Once it’s bubbling, reduce the heat to medium-low and let it simmer uncovered for another 2-3 minutes. This gives the flavors a chance to come together while the beef finishes cooking. After that, stir in the cooked rice or quinoa along with ¾ cup of the shredded cheese. Give everything a good stir until the cheese melts into the filling. Then, remove the skillet from the heat.
Step 6: Fill the Peppers
By now, your roasted peppers should be ready. Carefully remove the baking dish from the oven. Then, spoon the beef and rice filling evenly into each pepper half. Don’t worry if you have to mound the filling a little- the peppers are meant to be nice and hearty!
Step 7: Add the Cheese and Bake Again
Now for the best part: sprinkle the remaining ¾ cup of shredded cheese evenly over the stuffed peppers. Place the baking dish back in the oven and bake for another 10-15 minutes, or until the filling is hot and the cheese is melted, bubbly, and starting to turn golden.
Step 8: Serve and Enjoy
Finally, take the stuffed bell peppers out of the oven and let them cool for a couple of minutes before serving.
Then dig in! You’ve got tender roasted stuffed bell peppers filled with savory beef, fluffy rice, and plenty of gooey melted cheese. It’s classic comfort food that’s filling, easy to make, and perfect for a cozy weeknight dinner.
Click here for more healthy, delicious recipes!
About The Author